Nokia 31 Scatter File Verified =link= -
Rated #1 out of over 130 church management software products, ChurchTrac delivers unmatched simplicity and affordability.


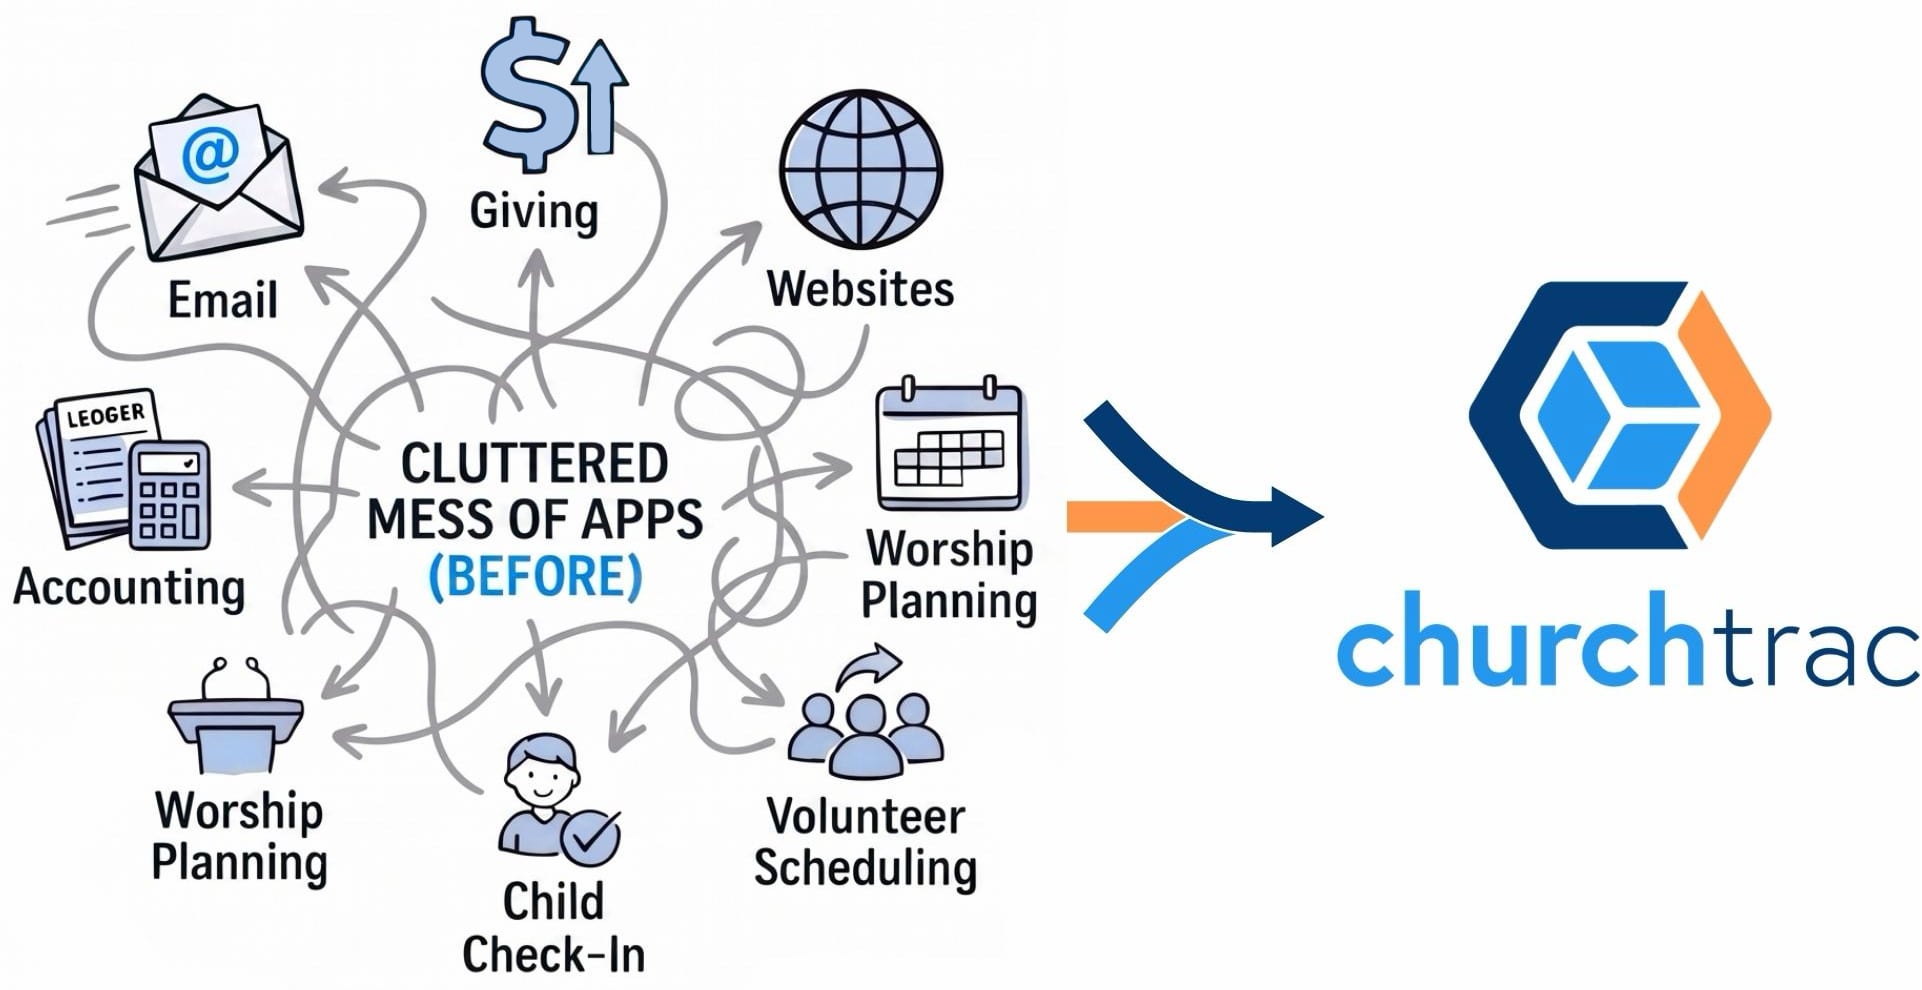
Member management
Check-In & security
Planning & scheduling
Website & App
Contributions & pledges
Accounting & budgets
Calendar & attendance
Automate admin tasks


Below is an analysis of the critical parameters found within the verified scatter file:
The Role of a Verified Scatter File in Nokia 3.1 Maintenance For the Nokia 3.1, a verified scatter file
This comprehensive guide explains what the Nokia 3.1 scatter file is, where to find a verified version, and how to use it safely to revive your phone. What is a Nokia 3.1 Scatter File?
Used if you are upgrading to a completely different Android version.
If nothing happens after this message:
Disconnect the USB cable and hold the Power button to boot the device. Troubleshooting Common Flashing Errors Error Code / Issue Root Cause Poor cable connection or corrupt tool initialization.
An unverified or "dirty" scatter file can cause:
Locate the field and click Choose . Select the default MTK_AllInOne_DA.bin file from the SP Flash Tool folder. Locate the Scatter-loading File field and click Choose .
[Verified Firmware] ➔ Matches Chipset ID ➔ Perfect Partition Alignment ➔ Successful Flash [Unverified Firmware] ➔ Wrong Memory Map ➔ Overwritten Bootloader ➔ Hard Brick (Dead Device)
Load scatter file : C:\Nokia31_Firmware\scatter.txt Checksum : 0x8F7A for region EMMC_USER Partition [preloader] verified at 0x0 Partition [proinfo] verified at 0x80000 ... Scatter file verified OK.
Extract the downloaded Nokia 3.1 stock firmware, SP Flash Tool, and MTK Bypass tool into separate folders on your desktop for easy access. Step 3: Run the MTK Auth Bypass Tool Open the MTK Bypass utility on your computer. Click on or Disable Auth . Turn off your Nokia 3.1 completely.
